
Back in the day if you got a puncture you fixed it yourself, often by the side of the road. With the advent of alloy wheels, tubeless tyres, roadside assistance and tyre specialist garages the most involvement many have with those black rubber hoops full of air is taking a wheel off the bike and getting someone else to sort it out.
It's quite common to order up a pair of tyres for an ongoing restoration, drop the freshly built wheels off at your local bike shop and simply collect them the next day. All of this is very convenient but what happens if you've bought some new rubber for a bargain price at a show and your local bike shop or tyre specialist wants a small ransom to fit the tyres? Or what about that damn puncture you inevitably find late on a Saturday night a few hours before you're due out on an early Sunday morning ride? Can you remember how to sort it out; does the workshop manual really explain what to do, have you got the necessary resources to do the job?
Changing tyres and tubes is fairly easy providing you go about it the right way using a few basic tools. The following is the in-house Cooper system as taught by a Second World War Military Police dispatch rider who learnt to ride on a Zenith Gradua outfit. This man (my father) also used to nick the keys to my 1970s Yamahas, scare the hell out of my mates with his riding and then offer to change my tyres. If the methodology worked okay for five decades with him it should be fine for us.
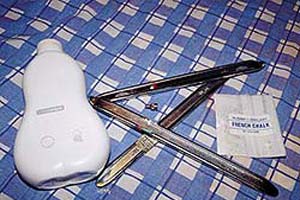
1.We need a few items from a bike’s tool kit or better, tyre levers, a pump and some talcu powder. valve key or old style cap with integral key is also handy
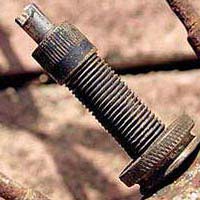
2.Loosen the valve retaining nut or collar with spanners or pliers as appropriate. These ancient wheel will be rebuilt so I'm not being too gentle
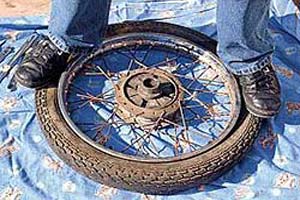
3.With the air out I can break the bead off the rim using the arcane power of middle aged mass. If the bon is really tight a Workmate vice or similar and some waggling of the wheel works wonders
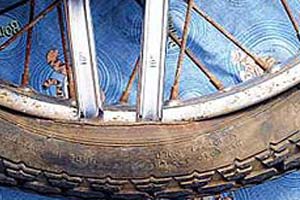
4.With a quality tyre lever carefully lift the bead over the rim and insert a second lever. Apply som controlled force and lever off more of the bead
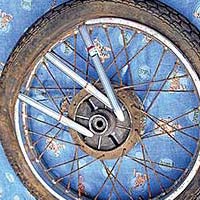
5.Clever, strong people (I'm neither) only use two levers but I wimp out and use three. At this point most tyres know they're beaten and the rest of the bead lifts off.
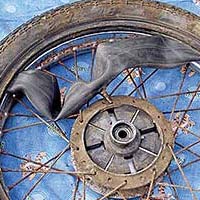
6.It's given up and I can pull out the tube. Puncture repair kits are okay to get you home but do you really trust your life to some glue and a rubber patch? A new tube is always a better bet
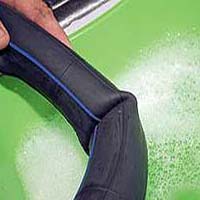
7.Look for obvious signs of a puncture. Washing up liquid makes a good leak detector; a leaking tube ma indicate the nail/thorn etc. in the tyre
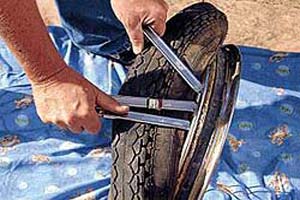
8.Just a little more expenditure of energy sees the old tyre off. If I wasn't going to rebuil these wheels I'd be checking the rim tape and the spokes for damage
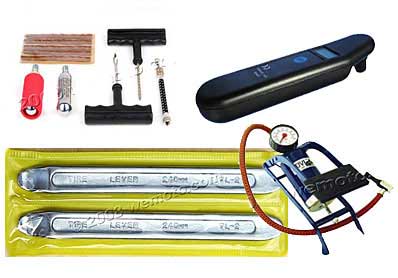
Tips and dodges-Tyre removal is always easier if the rubber in question is warm and therefore more pliable. This is easily achieved on a warm day but in winter it's often easier to either heat up the workshop overnight or work indoors if the significant other allows such practices. New rubber is almost certainly more pliable than the old stuff but some general heat always helps. It's perfectly possible to mark chrome rims with tyre levers but if you don't go all gung ho at the job you should be okay. Hard plastic rim protectors are available to buy. Consider your options when working on alloys rims/wheels as these are more easily marked but prevention is always better than cure. When refitting tyres some form of lubrication is pretty mandatory. You can buy specialist tyre fitting lube or use talcum powder. Alternatively use the correct stuff (French Chalk) as we've done here. On no account should you use liquid hand soap, washing up liquid or shampoo. All of these contain materials that can adversely affect rubber and some also contain table salt which will happily cause corrosion that will damage the rim and make subsequent tyre removal difficult. Oh and make sure the tyre's orientation matches the direction of the wheel's rotation; just don't ask me about the last time I made this stupid mistake. Tyre tools available here
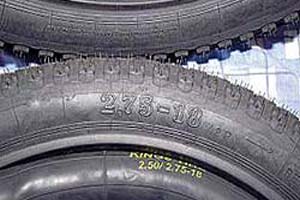
9.New tyres, tubes and rim tapes ready to fit. A sanity check that you have the correct sizes now will sav an awful lot of effort and embarrassment. 17in tyres don't fit too well on 18in rims.
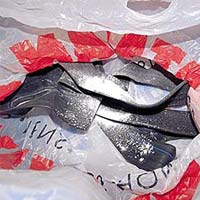
10.Drop the inner tubes into a carrier bag with some French chalk and give them a damn good dusting. D this outside or be prepared to cope with the fallout... literally..
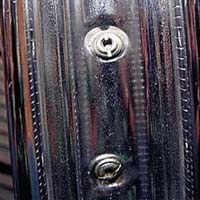
11.It's always worth checking that the spokes don't sit proud of the nipple. If they do file them flus and ensure there are no sharp edges ready to puncture the tube..
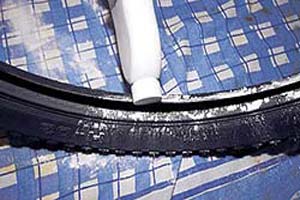
12.With the rim tape in place some of the French chalk is dusted inside the tyre and especially ove the bead edge. A slippery surface makes the job much easier
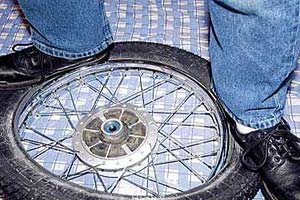
13.Protecting the wheel from below, the new tyre is laid on the rim and carefully walked on the majorit of the rim ready for the final effort

14.Using some rim protectors on my new chrome the last few inches of bead are carefully manoeuvre into place. An extra dusting of chalk often makes the whole thing a lot easier.
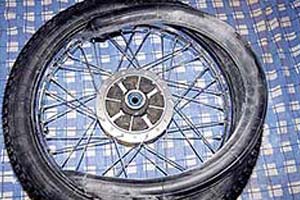
15.With a few puffs of air in the tube to stop i twisting and/or getting pinched it's carefull stuffed into the tyre. The valve is poked through the rim an the nut spun on a couple of threads t keep everything in place..
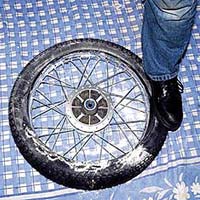
16.More chalking, more tyre walking and a little leverage has the tyre in place. The partially inflated tub should mean there's little chance of pinching it with the levers or against the rim but it's worth exercisin some care just in case.
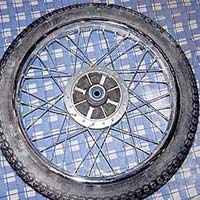
17.The tube is now inflated and hopefully the bead will jump up out of the well and towards the rim all the way round.
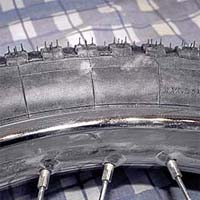
18.This is what we're aiming for; a parallel distance between the edge of the rim and the moulded lip of th tyre.
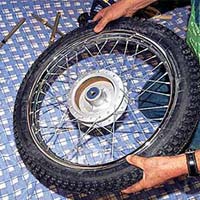
19.If the tyre doesn't sit true on the rim temporary extra pressure and/or a sideways bang on the tyre to jump the bead up the rim normally does the trick.

A very helpful article taken from CLASSIC MOTORCYCLE MECHANICS magazine.